

Some older stamps from Indian regions were made by lithography, where a design was drawn on a flat stone surface and then transferred to paper. Others used typography, pressing metal type or plates directly into the sheet. Engraving appeared on a few issues too, cutting lines into a metal plate so that ink would sit in the grooves. These methods often left small differences in how the ink sat on the surface or how fine lines appeared under a close look. The paper itself came from various mills and could range from thin and translucent to thicker stock with a noticeable grain when held up to light.
Looking at paper and watermarks
Paper quality gives one of the first clues when checking older examples. Genuine stamps from that period tend to have paper that feels slightly rough or fibrous rather than perfectly smooth. Run a fingertip lightly across the surface. Modern reprints or touched-up pieces often feel coated or overly even. Thickness can vary, but many authentic pieces sit somewhere between the weight of ordinary writing paper and a light card stock. Hold the stamp to a strong light from behind. You may see a watermark, usually a simple shape such as a letter, crown, or geometric pattern. The position of the watermark matters. On some issues it appears centered under the design, while on others it sits toward one corner. If the watermark looks too sharp or sits in an odd place, that can suggest the stamp has been altered or printed later.
Color shifts also show up when paper has aged naturally. Genuine stamps often carry a slight yellowing or toning that matches the paper around the design. Added color or washed stamps may show uneven patches or a brightness that does not fit the rest of the sheet.
Reading cancellations and design details
Cancellations provide another layer of information. A postmark from the right era will usually show ink that has soaked slightly into the paper fibers rather than sitting on top like a fresh stamp pad mark. Look at the shape and spacing of the letters or bars. Many older cancellations from Indian regions used distinctive fonts or arrangements that changed over time. A mark that overlaps the design edges in a natural way, without looking added afterward, is more likely to be original. Check the date in the cancellation against the known period when that stamp design was in use. Mismatched dates often point to a later addition.
Design features include perforations, margins, and small printing flaws. Measure the spacing between perforation holes with a simple gauge if you have one. Consistent spacing suggests the stamp was produced on the equipment of that time. Uneven or missing perforations can occur naturally, but perfectly uniform modern cuts may indicate a reprint. Look at the edges of the design itself. Engraved or lithographed stamps sometimes show slight blurring or doubling in certain areas because of the printing process. If every detail appears too crisp and clean, the piece may have been redrawn or reprinted.
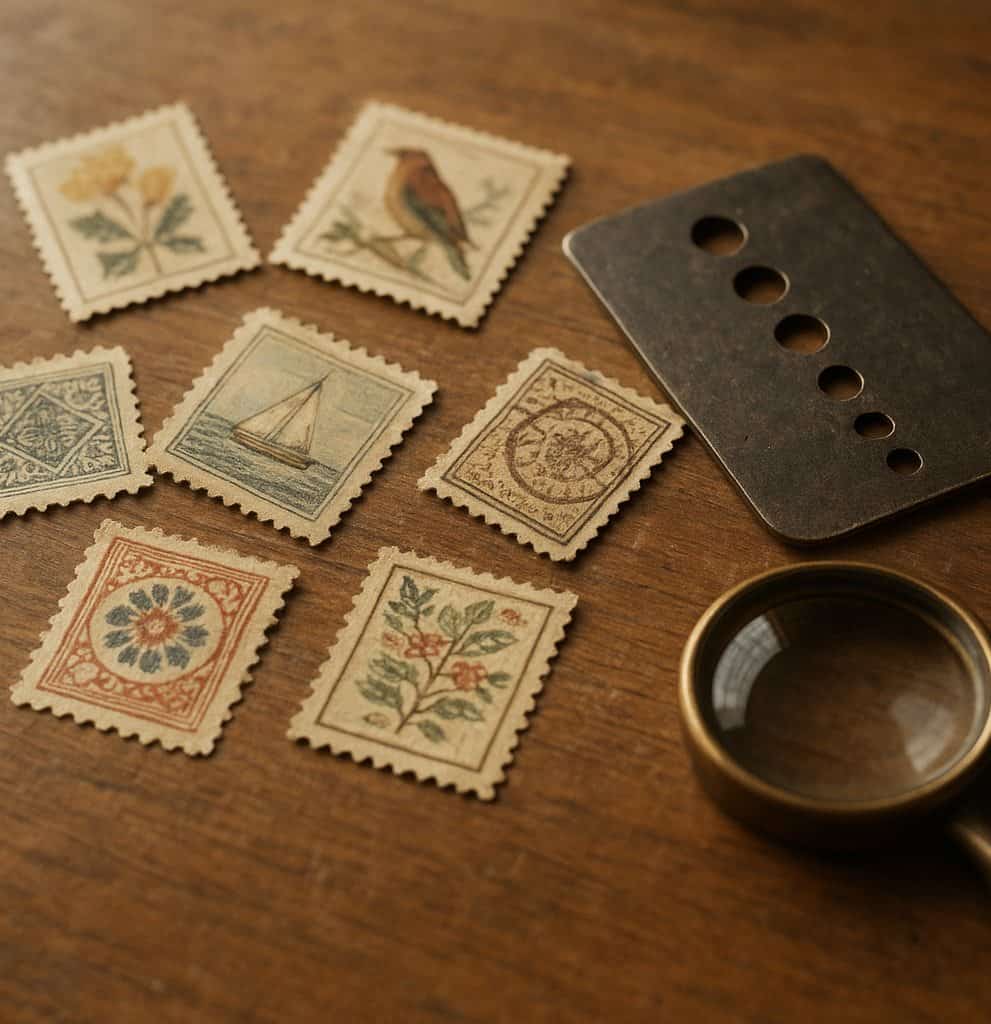
Tools that help with steady checks
A basic magnifying glass or loupe with at least ten times magnification lets you see paper fibers and ink edges without much cost. A simple watermark tray filled with a safe fluid reveals hidden marks when the stamp is placed face down. Perforation gauges come as small plastic or metal rulers marked with different hole counts per inch. Reference catalogs that list known varieties and illustrations of genuine examples help compare details side by side. These books often include drawings of watermark positions and typical cancellation styles. Keep notes on each stamp you examine. Write down the paper feel, any watermark seen, and the cancellation description. Over time these notes build a useful record for spotting patterns across different issues.
Storing stamps to limit damage
Good storage starts with keeping stamps away from direct light, which fades colors over months or years. Use albums with clear mounts rather than gluing stamps down. Mounts hold the stamp without touching the gum or paper with adhesive. If using hinges, choose the peelable kind and place them only on the top edge so the stamp can be lifted for inspection later. Humidity matters as well. Too much moisture can cause paper to swell or stick, while very dry air makes it brittle. A steady room temperature and a closed album usually work better than open display cases. Store albums flat on a shelf rather than standing on edge, which can bend the pages over time. Check the collection every few months for signs of insect damage or mold, and move any affected pieces to a separate dry container right away.
When examining a group of stamps together, sort them first by paper type before looking at designs. This reduces handling and lowers the chance of creases. If a stamp shows signs of previous repairs such as thinned areas or added paper on the back, note that fact and set it aside rather than trying to clean it yourself. Simple observation and steady habits reveal more than quick attempts to improve condition.